Witcher 3 Practicum in Advanced Alchemy
From the Druid by the ‘Gedyneith’ fast travel marker.
Return to Gedyneith a few days after completing the ‘Shock Therapy’ side-quest and you’ll bump into a pair of Druids talking loudly. This conversation when overheard will trigger the start of the side-quest.
We’ll need to speak with the Druid when the conversation finishes and ask him about the other fellow Gremist. After the chat with the Druid runs its course, head over and talk to Gremist nearby. Keep pestering him and eventually he’ll agree to teach you some alchemy on the condition that you do some chores for him. So be it!
Part 1: Finding Pimpernel
First up we’ll need to find a Pimpernel from the woods to the south. The objective marker for this section of the side-quest lies south of the ‘Druid’s Camp’ and to the east of the ‘Palisade’ fast travel markers. Note that this area is crawling with White Wolves and an Armored Arachas or two, so be careful and prepare for a fight even if you want to avoid one.
When you reach the search area marked by the objective marker, use Geralt’s Witcher Sense to locate the Pimpernel and interact with it to trigger a scene.
Following a brief conversation, you’ll now have a powerful Druid side-kick. Use Witcher Senses to locate a set of hoover footprints leading away from the picked Pimpernel. Continue to follow these until you find a second set of tracks leading in the same direction. Again, follow these up the nearby hill until a scene plays.
During the scene you’ll be presented with a pair of options each of which will affect the quest in a different way. We can choose either:
- Option 1: Kill the Succubus
- Option 2: Let the Succubus Go
Note: This enemy provides one of only two opportunities to earn the Succubus Mutagen in the game, the other is in the ‘Contract: Deadly Delights’ so think carefully before making your decision.
Option 1: Kill the Succubus
If you choose to side with the Druid and want to kill the Succubus, you’ll need to fight her right here and now. This is a tough fight, but doable and you have your Druid chum to help out as well.
Boss: Succubus
The Succubus fight can be a little difficult mostly because it takes part in such a narrow fighting area. The boss has several quick-fire melee and casting attacks that have a fire effect which can in addition to immediate health damage, can also cause a damage over time status. As this is the case, the boss can dish out a heck of a lot of damage in quite a short amount of time.
Fortunately, the Succubus has a fairly low amount of health and a few blows from your sword will fell her fairly quickly. Ensure that you use QUEN to give Geralt additional armour whilst fighting her and get as many shots in as you can before it wears off before manoeuvring around and avoiding her attacks until the cooldown is up and you can activate QUEN once again. It is also possible to use AARD to interrupt her attacks and stun her, albeit briefly.
Repeat until the Succubus is dead.
After killing the Succubus and the subsequent scene between the Druids, they’ll run off and leave you to your own devices. Loot the Succubus for the Succubus Mutagen and then turn on your Witcher Senses to discover the Succubus’s scent trail.
Follow the scent trail a short distance up the path until you reach a cave – this is the Succubus’s lair. Once inside, you’ll find a room filled with strands of flowers hanging from the ceiling. At this point, use Witcher Sense to locate the flowers we can loot to obtain the Pimpernel quest item.
Note: At this point you’ll earn 25XP.
Option 2: Let the Succubus Go
If you choose to side against the Druid and refuse to kill the Succubus, she’ll lead you to her lair a short distance. Once inside, she’ll show you to a location where you you’ll be able to find the Pimpernel.
At this point, use Witcher Sense to locate the flowers we can loot to obtain the Pimpernel quest item.
Note: At this point you’ll earn 25XP.
Part 2: Retrieving Spirits
Next, we’ll need to find some Spirits from the old Distillery in the mountains to the south. The objective marker for this section of the side-quest lies southeast of the ‘Pallisade’ and to the east of the ‘Fyresdal’ fast travel markers (or at the ‘Distillery’ marker if you’ve explored here earlier!).
When you arrive at the marker, find the entrance to the building and proceed inside. Here you’ll find yourself face to face with a level 21 Cyclops. Use your usual tactics to take it out. With the room clear, it’s time to do some ‘vestigatin’! Pop on Geralt’s Witcher Sense and you can examine the following:
- Bottle on the walkway at the top of the ladder by the distilling vats. This will be lootable for Mash.
- The Note – Distiller’s Letter on the bed in the small room area to the right of the entrance.
- The Book – Distiller’s Log on a second bed in the small room area to the right of the entrance.
Once you have looted all three items, head into your key items tab of the inventory and read both Note – Distiller’s Letter and Book – Distiller’s Log. This will update our objectives.
We’ll now need to brew our own batch of spirits… and you thought this was a monster hunting game (tsk, tsk). To do this successfully we’ll need to perform a few tasks in order. These include:
- Approach the central metal vat against the far wall and place the Mash inside it.
- Interact with the IGNI location below the same vat to set a fire.
- Use the right hand lever on the wall to the right of the vats.
- Use the left hand lever on the wall to the right of the vats.
If done successfully, Geralt will praise his own distilling abilities. You’ll also be able to loot the nearby barrel for the Skellige Spirits quest item.
Note: At this point you’ll earn 25XP.
Part 3: Helping Frijof
For Gremist’s final favour, make your way to the town of Blandare in central Ard Skellig and in the northern reaches of the town you’ll find Frijof the Druid. Speak with him about visiting Gremist and he’ll agree, so long as you help him out with his important ritual first.
Following the conversation, follow the Druid into the nearby field for a scene. Afterwards, he’ll be represented on the left side of the screen with a health bar and we’ll be required to keep him safe against three waves of Foglets that appear whilst he is performing his ritual. Use your usual tactics to take them down and be sure to keep them from attacking the Druid!
Once you have defeated all of the Foglets and had another short chat with Frijof, he’ll head off to meet with Gremist.
Note: At this point you’ll earn 25XP.
Part 4: Return to Gremist
After completing all three tasks for Gremist, we can fast travel back to Gedyneith and speak with him once again to inform him that all has been done.
Folllowing the conversation, to continue we’ll need to meet Gremist the next day. To make things quicker, you can simply meditate for 24 hours until the next morning to have the objective marker spawn so that we can progress.
Head inside the building here and approach the Druids for a scene/conversation to end the side-quest.
Note: For completing the side-quest you’ll earn 25XP, 5 x Sulfur, 5 x Alcohest, 5 x Han Fibre and 5 x Saltpetre.
Note: For completing the side-quest you’ll now be able to purchase many superior level Potion, Bomb and Oil recipes from Gremist.
Witcher 3 For the Advancement of Learning Quest Walkthrough

Witcher 3 For the Advancement of Learning
This quest is acquired automatically upon completing the side-quest ‘A Favour for a Friend’.
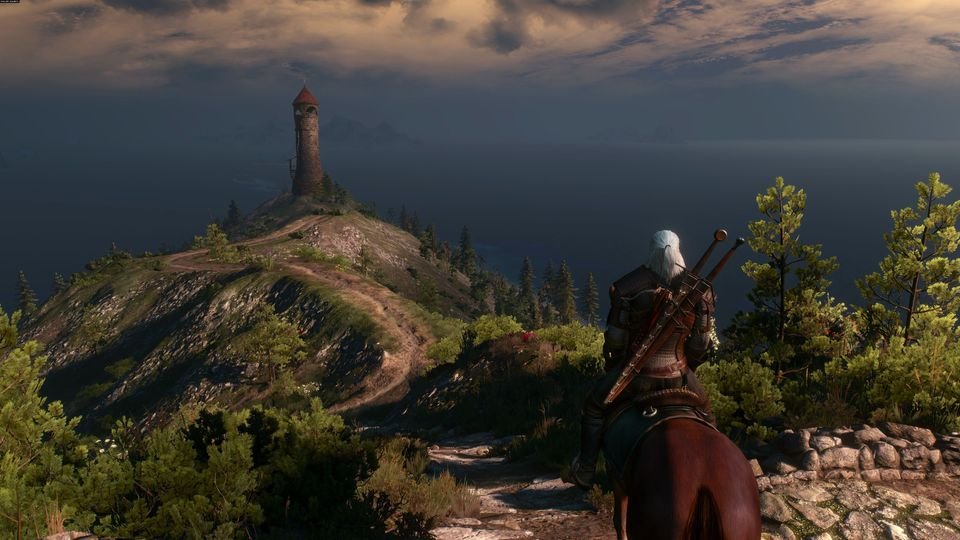
Following the previous quest, you are going to want to head over to the Tower on Fyke Isle again. You can either swim across, grab a boat or use the fast travel signpost we would have unlocked earlier to reach the tower quickly.
Approach the tower for a scene. Here you’ll have a few dialogue options:
- “Can’t let you“ – This will initiate a boss fight.
- “Hundreds could die…“ – This will start up a new conversation where you can convince her to go to Kaer Morhen.
- “It’s suicide” – This will start up a new conversation where you can convince her to go to Kaer Morhen.
- “Do what you want“ – She’ll leave.
Note: Recruiting her to go to Kaer Morhen is important as it is required to complete the ‘Brothers in Arms: Velen’ optional main quest and is also needed for the ‘Full Crew’ achievement/trophy and for help later in the game.
Note: Allowing Keira to leave or triggering the boss fight will have you fail the ‘Brothers in Arms: Velen’ quest.
Despite all the reasons that you shouldn’t, If you do choose the “Can’t let you” option, you’ll initiate a boss fight.
Boss: Witch
This boss favours ranged attacks and uses magical lightning strikes and fires rock projectiles at you that you’ll need to roll/dodge to avoid taking damage. It is also able to teleport quite a long distance which it will do to constantly keep you at range where it can utilise its projectile attacks.
The trick to beating this one down as quickly as you can is to roll/dodge the attacks it throws at you to get in close and mash away with your sword until it teleports away. Repeat the process until a scene plays to end the quest.
Either way you choose to play out the end of this quest chain, after a brief scene the quest will draw to a close.
Note: No matter the choice you make, At this point you will earn 200XP.
Note: At this point you will earn the achievement/trophy ‘Friends With Benefits’.
View Comments (0)
The Witcher 3: Wild Hunt – Funeral Pyres Walkthrough
 The Witcher 3 Wild Hunt
Funeral Pyres

Use Igni to set the corpses on fire
In order to start this quest you must find the Priest of the Eternal Fire east from Mulbrydale village (M2,5). During the conversation Geralt will be asked to burn the bodies in three different places. You must accept this task. You can reach the bodies in any order you want. There is a group of ghouls and exploding rotfiends near each of them. After securing a location, you must walk towards the body pyre, spill the oil and use Igni sign in order to set it on fire (9 experience points). At one of the piles Geralt will meet a survivor. Talk to him and you will learn about the true intentions of the Priest of the Eternal Fire (22 experience points).
After burning all the bodies, go North. The Priest of the Eternal Fire has moved there. In your last meeting you can act in two ways. If you accept the payment, you will receive 60 crowns and 45 experience points. If you decline on the bribe, a battle with the priest and few guards will start. It’s not hard to win it. After the battle you will receive 45 experience points. Loot the corpse of the priest – you will find 200 crowns.


