

First Contact Summary
There are multiple objectives in this quest, the first being finding the Overseer’s C.A.M.P followed by listening to Overseer’s log and register as a volunteer.
C.A.MP
As you emerge from the Vault, take a good look around and take in the environment. When you are ready to move on, go down the Vault-tec entrance steps and talk to Mr. Handy robot to know the whereabouts of the Overseer.
Then head down and walk towards the south. Now head along the Router 88 and you will come across a covered bridge with Overseer’s C.A.M.P nearby. The C.A.M.P is just above the road junction.
Explore the C.A.M.P as indicated by the game. Here will be a couple of crafting tables that you can use to complete miscellaneous quests. However, you will find Overseer’s log here. Listen to it and you will come to know that the Overseer has gone to Flatwoods.
Flatwoods
To get to the Flatwoods, journey along the road towards SouthWest. You will pass Green Country Lodge along the way. As you reach the Flatwoods, enter the church in the town with the Command Post sign outside.
You still won’t find the Overseer but there will be another one of her caches there. Open it and you will find another Overseer’s Holotape. In the log, she emphasizes the importance of working with Responders.
First Contact Walkthrough
First Contact is one of the first quests in Fallout 76’s main quest line. This page of IGN’s Fallout 76 Wiki Guide contains a walkthrough of this quest as well as details about other activities you can find along the way.

Quest Rewards:
- 10 Bottlecaps
- Responders Paramedic Jumpsuit
- Recipe: Healing Salve (Forest)
- (5) Healing Salve
- (71) .38 Round
- Hatchet
First Contact begins once you leave Vault 76. Head down the stairs just outside the vault to find Pennington. Go down the stairs to the left of Pennington to find the a Responder Corpse. Loot the corpse to receive a Machete, some Pre-War Money and Orders from Maria Chavez.
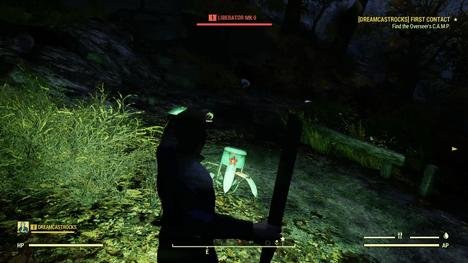
Equip the machete in your Pip-Boy, then continue down the stairs to the left of the corpse. At the bottom of the stairs, you may be attacked by some Liberator MK 0s. If you are, dispatch them quickly with your new machete. Continue following the quest marker on your compass, which will lead you down the road to the Isolated Cabin. You don’t need to do anything at the cabin, but if you want more details on what’s around the cabin, check out its wiki page at the link above.

Continue past the cabin and through the forest, making sure not to lose track of your quest marker until you reach the Overseer’s C.A.M.P.. Once you get there, listen to the Overseer’s Log to update your objective.
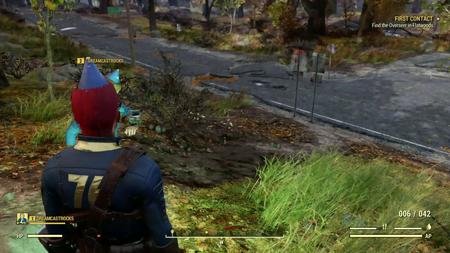
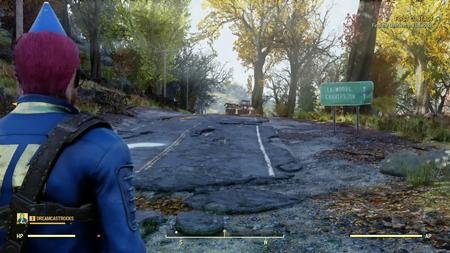
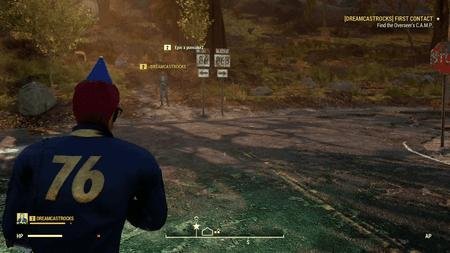
Your next step is to search for the Overseer in Flatwoods.To get there, back out of the camp, and turn left when you reach the road. Follow the road straight ahead and be careful, as you may find enemies lying in wait.

Once you reach Flatwoods, follow your quest marker to the Command Post. Enter and take an immediate right to find another Overseer’s Cache containing several items, including Overseer’s Log – Flatwoods. LIsten to the log to update your objective.
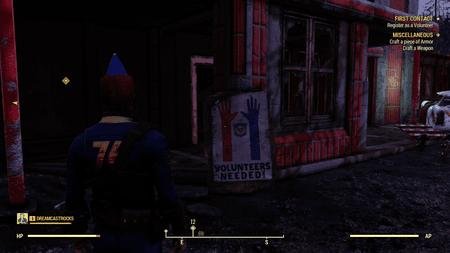
The next step in the quest is to register as a volunteer. To do this, leave the Command Post, then follow your quest marker to the volunteer building. Inside you’ll find two terminals. Access either terminal and select [Volunteers: Register Here!] to become a volunteer and complete the quest.
Fallout 76 – Finding Defiance Quest Walkthrough

Finding Defiance Quest
Possible Quest Rewards
- Photo Frame: The Brotherhood!
- Brotherhood Fatigues
- Short Gatling Gun
- 5mm Round x140
- Plan: Protective Lining BoS Underarmor
- Radaway x6
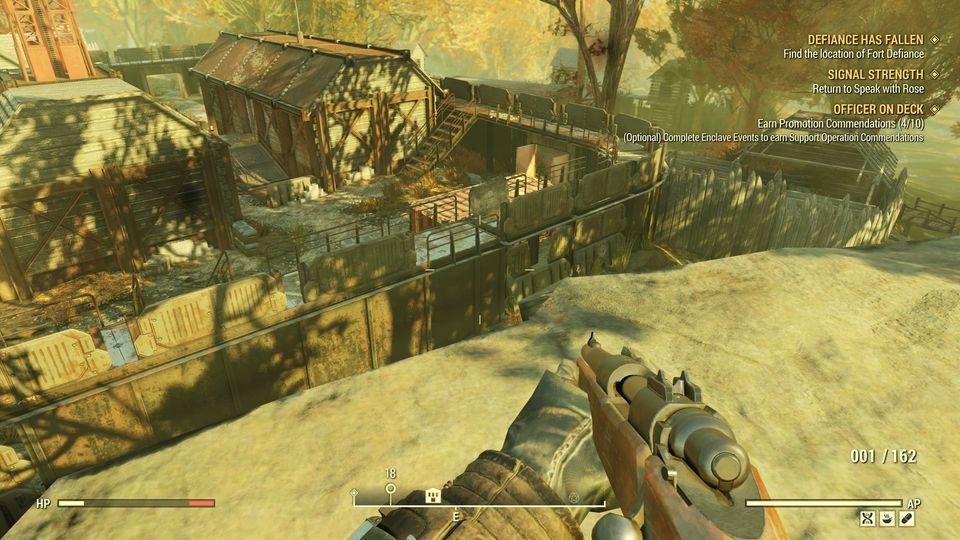
Travel towards Camp Venture (Pictured Above) the only location on the map that can lead you to the mysterious Fort Defiance. When you arrive, be ready to fight a horde of high level Schorched enemies, including Believers, Zealots, and Wanderers. You may even run into a Feral Ghoul or two.
There is a nice rock ledge that over looks the camp facing the East Side. This ledge can provide a nice tactical advantage to thin out a few of the Schorched inside the camp.
Once you feel comfortable, start to walk into the camp and continue to clear out the hostile forces remaining.
Investigating the barracks inside the camp will provide junk to scrap for crafting materials, and notes to provide a better a picture of camp Venture’s final days.
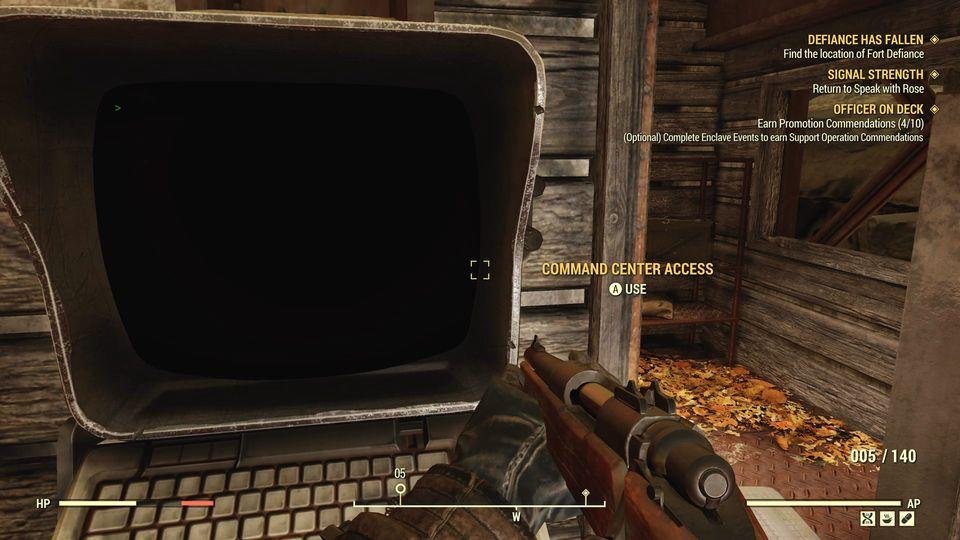
In the west corner of the camp, there is an office behind a locked Skill: 1 Command Center Access Terminal. Hack the terminal to unlock the Camp Venture Offices.
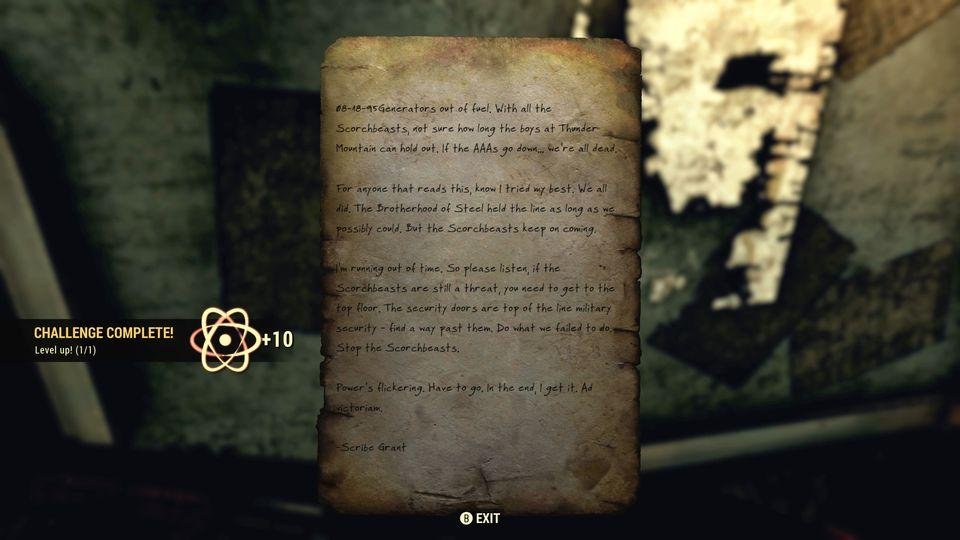
Right when you enter, there is an ammo crate to loot, and there may even be crafting plans for a piece of armor on the shelf beneath. Continue inside and you will find an Overseer’s Cache and a Steamer Trunk. On the table in the center of the room you will find the Brotherhood of Steel Commander’s Terminal. Accessing this Terminal will provide more context to the Brotherhoods final days in Appalachia, and next to this terminal there is a note titled “Letter to Tommy”, reading this will reveal the Location of Fort Defiance.

It seems Fort Defiance is located in the Allegheny Asylum, located south on the edge of the Savage Divide and Cranberry bog Regions of Appalachia.

Travel to the Location pictured above, and enter the old Asylum. Inside you will see an open door and a bulletin board on the other side. When facing the board, you will notice behind you there is an elevator locked behind a laser grid only members of the Brotherhood have access too.
Interact with the note titled “Final Stand” Posted on the board. Once you do that, you have completed Defiance has Fallen and begun your quest to join the ranks of The Brotherhood of Steel.
To begin the next steps to join the Brotherhood, you must first complete the Back to Basic side mission Located at Camp McClintock. If you have already completed that, you can then move on to the next Brotherhood Quest: Recruitment Blues.
Fallout 76 – Savage Divide Power Armor Locations

Solomon’s Pond Power Armor
Solomon’s Pond includes a small farmhouse and pond in the central area of the Savage Divide, East of the Whitesprings Resort. Look for a large water pump at the edge of the pond and you may find Power Armor at the Power Armor station here.
Johnson’s Acre Power Armor
The location known as Johnson’s Acre is a quiet shack on the far southeast edge of the Savage Divide overlooking the Cranberry Bog. Look for a large rocky peak next to the house to find a Raider Power Armor left abandoned overlooking the valley below.
Ripper Alley Power Armor
Ripper Alley is a small raider camp located along the road south of the West Tek Research Center in the Savage Divide. Head into the camp and look along the makeshift fortifications by the cave and you might find Power Armor waiting here.