You are seeing the Emergency Calls Only error on your Android phone, which can be inconvenient. It frequently happens when your phone is not in the SIM card slot or outside the network service region.
Assuming that the SIM card is inserted, other possible causes of this error include turning on aeroplane mode, experiencing brief device malfunctions, problems with the SIM manager application, and having your network settings changed or corrupted. Let’s look at some troubleshooting techniques to assist you in resolving the Android Emergency Calls Only problem.
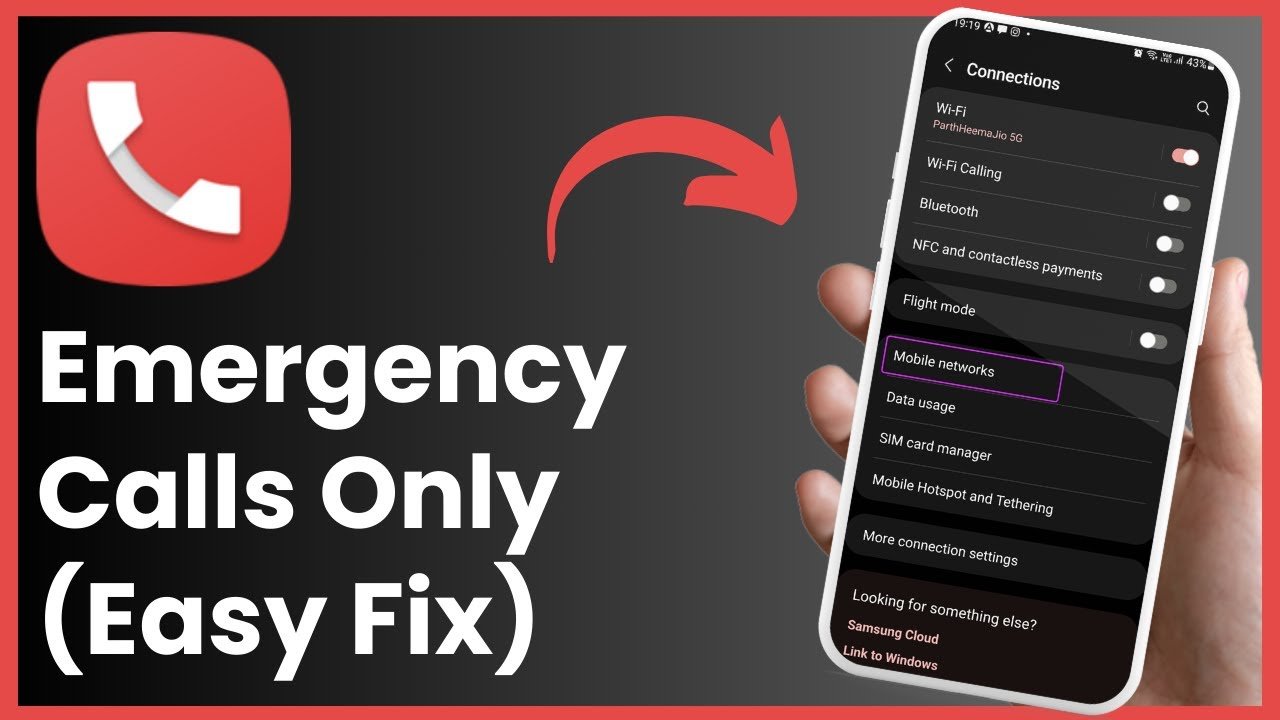
9 Ways to Fix Emergency Calls Only on Android
Below are the ways to fix emergency calls only on Android:
1. Check if Your SIM Is Active and Turned On
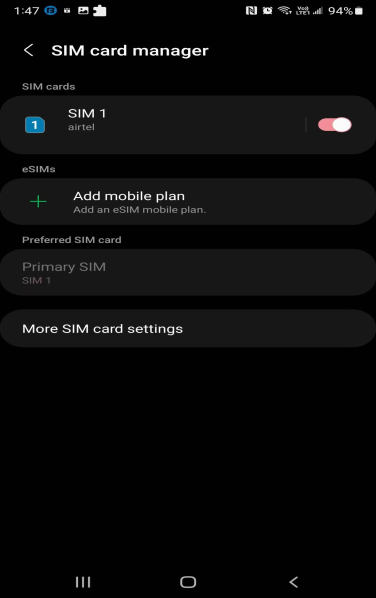
You can deactivate or activate an active SIM card using your Android phone’s SIM card manager app. Switching off and setting the secondary SIM inactive on a dual-SIM cell phone is helpful. Check if you mistakenly turned off your SIM and caused the Emergency Calls Only error.
On an Android device, to turn on your active SIM:
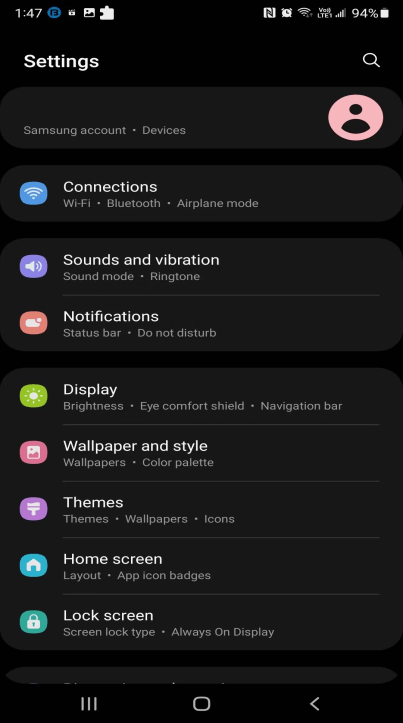
Step 1: To access Connections under Settings, open the app drawer.
Step 2: To see your active SIM, tap SIM card management.
Step 3: To activate the SIM, if it’s off, flip the switch and press OK.
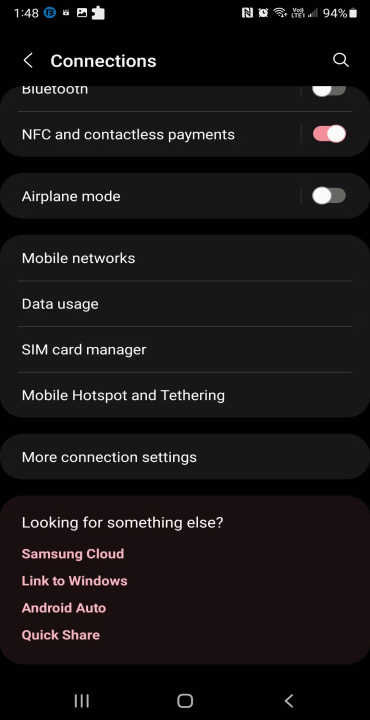
2. Switch on and off Airplane Mode
All your Android phone’s wireless capabilities are disabled when you put it in aeroplane mode. When the device does not receive a cellular signal, the Emergency Calls Only notification will appear if enabled. You can also try turning aeroplane mode on and off to see if that helps fix the error and allows you to reconnect to your cellular network provider.
For Android, to toggle between in and out of aeroplane mode:
Step 1: Select Settings by tapping the home screen.
Step 2: Next, give Connections a tap.
Step 3: Slide the switch to activate the aeroplane mode.
Step 4: Press again to exit the aeroplane mode. Your phone will disconnect from aeroplane mode and establish a connection to your network provider in a few seconds.


Step 5: Alternatively, you can use the quick settings menu to enter aeroplane mode. To switch Aeroplane mode on or off, swipe down from the top of your screen and tap on it.
3. Change Your Network Type
When fixing service problems, most Android phones let you choose between 2G, 3G, 4G, or 5G networks. Changing to a different network mode can help you receive a solid signal in an area with poor service.
To switch the network mode:
Step 1: Click Connections after opening Settings.
Step 2: Choose a mobile network.
Step 3: Select a different network type by tapping on Network mode.

Remember that not all network providers support 3G or 2G network types. In this case, you can manually switch between 4G and 5G network modes.
4. Manually Select Your Network Provider
Android devices autonomously identify and choose mobile networks based on the availability of the web and your SIM card. On the other hand, choosing your network provider manually can assist in fixing issues when the network connection is acting strangely.
On an Android device, to switch network operators:
Step 1: First, select Settings > Connections.
Step 2: Select Mobile Networks and then Network Operators from the menu.
Step 3: Toggle the Select automatically switch to turn off the network selection that is done automatically. When turned off, Your Android device will look for all the local networks.
Step 4: Press the name of your network operator to connect your device to the network.


5. Perform a Quick Restart
Fixing short-term issues caused by your SIM or Android phone can be accomplished with a fast restart. After a restart, your phone must reconnect to your network provider, and all background apps will be closed. Holding down the power button for a few seconds will restart your Android phone. Repeatedly tapping Restart will confirm the Restart.
6. Check if Your SIM Is Inserted Correctly
If your SIM is not installed correctly, your phone will not recognize it. Nano SIMs are compatible with newer Android handsets. Older devices with the traditional SIM tray may experience contact problems and display errors when using a Nano-SIM.
To fix the problem, open the SIM tray and take the SIM card out using the eject pin. You might need to insert the SIM card with the contacts pointing up or down, depending on your Android handset. If required, gently press the SIM card into the tray to position it where it should be.
After that, put the SIM tray back in and see if your phone has identified a network. Try cleaning the SIM Toolkit app’s cache if the problem still exists.
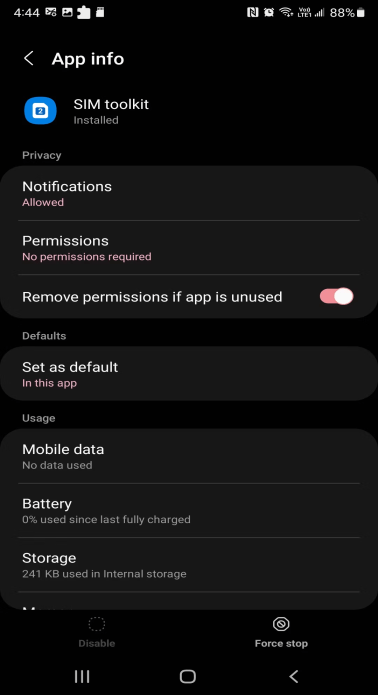
7. Clear the SIM Toolkit App Cache and Data
Often installed by your network provider, SIM Toolkit is a stand-alone program for Android smartphones. It allows you to access value-added services, change settings, and do much more while running in the background. You can try cleaning the SIM Toolkit app cache to fix network issues.
To empty the cache of the SIM Toolkit app:
Step 1: To view all installed apps, open Settings and tap on Apps.
Step 2: Type SIM Toolkit into the Search Applications icon. Open the most compatible result. The name of the app could change based on your network provider.
Step 3: To end the application, tap Force Stop. To confirm the action, tap OK.
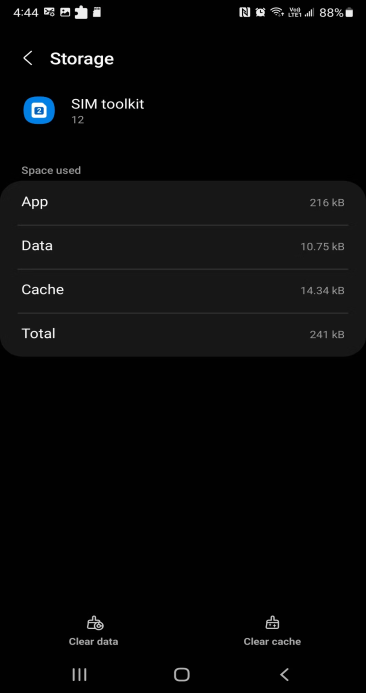
Step 4: Select Storage and Clear cache to remove the app’s cache.
Step 5: To complete the process, click Clear data and tap OK.
8. Reset Network Settings
You can reset the network if unanticipated problems cause the Emergency Calls Only error. Many features connected to the web can be returned to their initial configuration by performing a network reset.
These consist of the following: network selection mode, app data limits, mobile data limit, tethered interfaces, Bluetooth, Wi-Fi, and VPN support, as well as background data sync, mobile data limit, and network selection mode.
For an Android device, to do a network reset:
Step 1: Press and hold the screen to see the Quick Settings menu.
Step 2: Press the Settings (Gear) icon in the upper right corner.
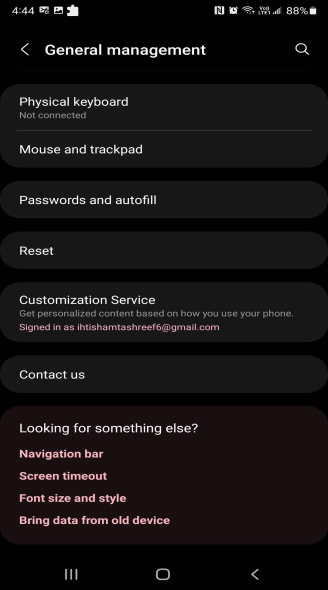
Step 3: After swiping down, select General Management.
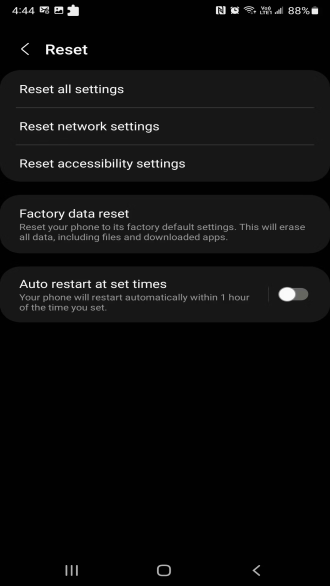
Step 4: Select Reset after that. To find the reset network settings option, navigate to Settings > System > Reset options on Google or Motorola phones.
Step 5: Next, select Reset network configuration. Examine the explanation and press the Reset settings button to validate the action.
9. Reset Your Phone to Factory Default
If everything fails, you might have to factory reset to resolve the Emergency Calls Only issue. If a problem with the system configuration is the cause of the error, a factory reset can be required. Recovery Mode and Settings offer the option to factory reset an Android phone.
It’s advisable to fully back up your cell phone to safeguard your contacts, SMS, images, and any other data you don’t want to lose because the reset process will erase everything.
Fixing the Emergency Calls Only Error on Android
If your Android device cannot detect a cellular signal, it will display the Emergency Calls Only error. The failure itself, however, may have several causes. Check your airplane mode settings to ensure it is disabled if you are in a location with strong signal reception.
You can also try resetting your network settings, deleting the SIM Toolkit cache, manually choosing your network operator, switching up your network mode type, and resetting your network settings to fix the issue and go back online.
Conclusion
This blog mentioned “Ways to fix emergency calls only on Android”. Hopefully, these nine methods for fixing emergency calls exclusively on Android will help you improve the problem on your phone. If you have any questions regarding these techniques, please refer to the handbook provided by your phone or contact the manufacturer for assistance.


